Adding a countdown timer in Campaign Monitor
Campaign Monitor's email editor is known for its limitations. It doesn't include basic features like a custom HTML block, which can make it difficult to add dynamic elements. Although embedding a countdown timer may seem challenging because of these constraints, there's no need to worry—we're here to guide you through the process. In this guide, we'll explain everything in detail so that even beginners can easily follow along and successfully add a countdown timer to their campaigns.
Add a countdown timer using email builder.
- Choose a template right from within the email builder.
- Add text section, select the appropriate button from the left-hand toolbar and drag it to the section of your email template where you want to drop it in.
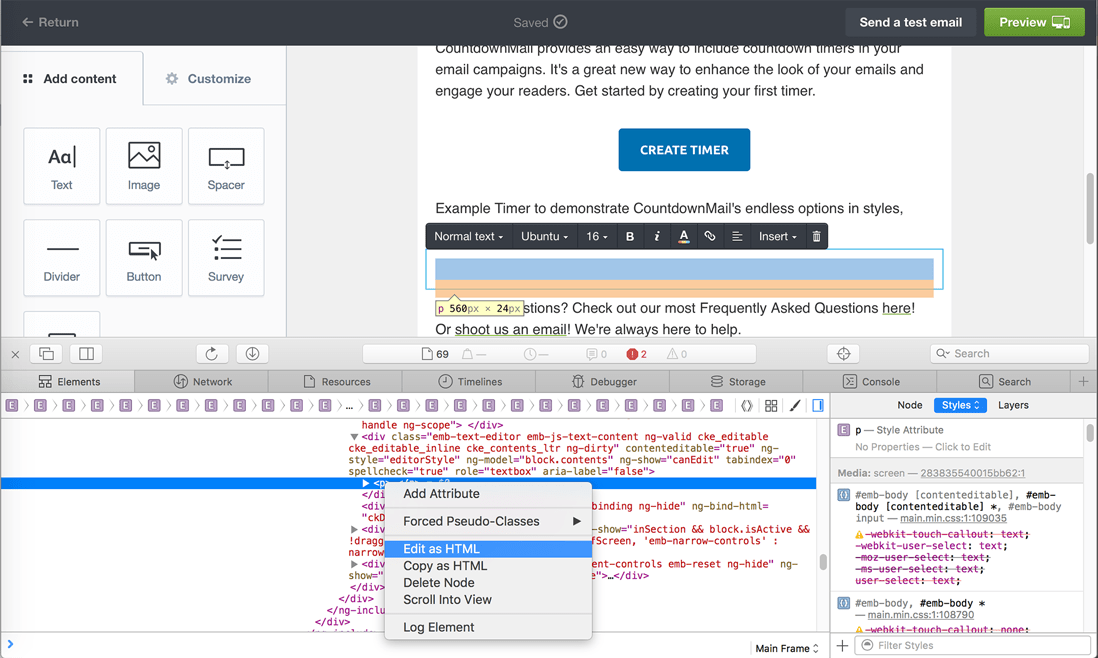
- Select the text section, click the right mouse button on the section, and choose the "Inspect Element" item in the pop-up menu.

- Find your element in devTools and click the right mouse button on the element and choose the "Edit as HTML" item in the pop-up menu.
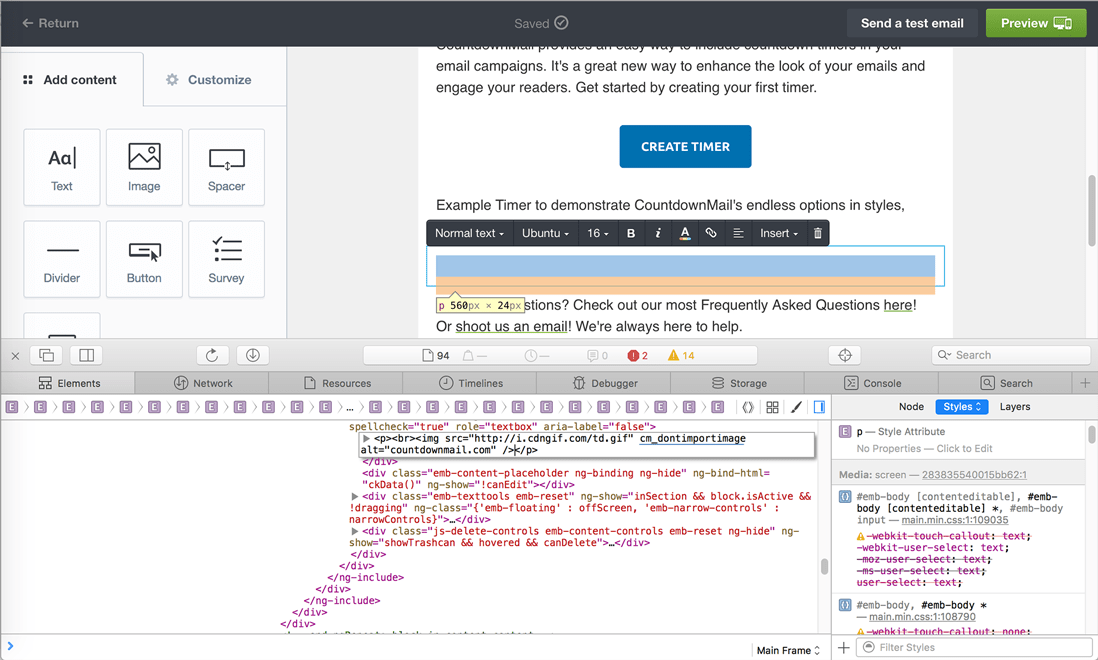
- Paste your timer embed code into the text section at the desired place of your text block.
- After pasting, add the cm_dontimportimage attribute to your image tag will ensure that Campaign Monitor does not import the externally-hosted image from a path.
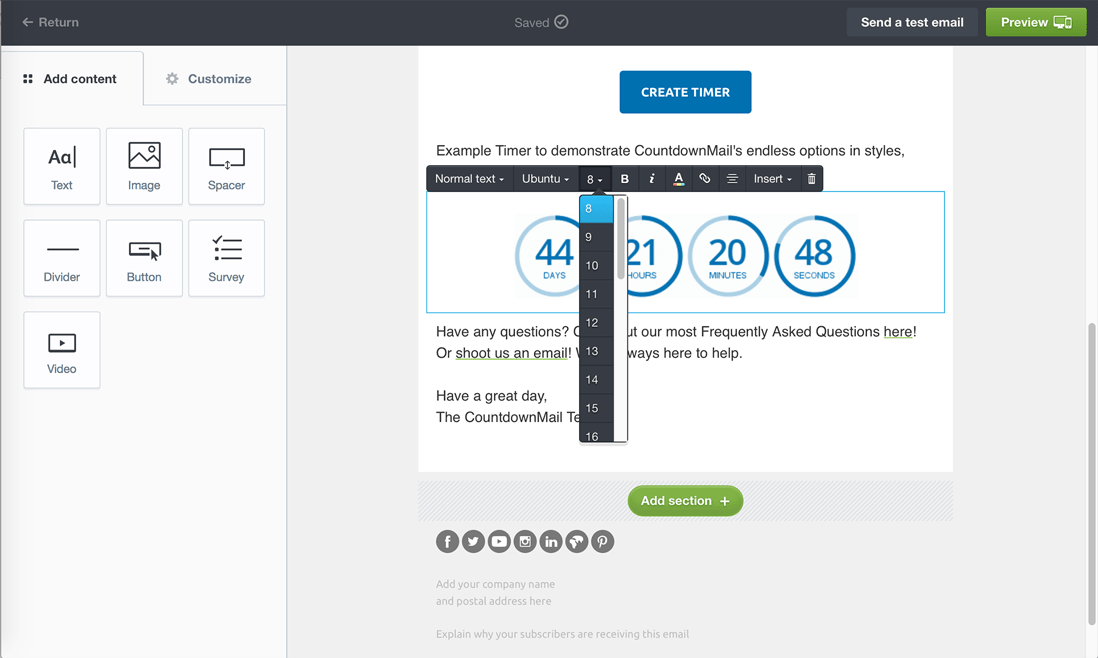
- Set font size to 8 and align the image to center for a better view
Tips for Success
Test Your Email: Always preview and test your email before sending it to subscribers. This ensures everything looks good and functions correctly.
Design Matters: Ensure your countdown timer enhances your email design. It should be prominent but not distract from your content.
Test Your Email: Always preview and test your email before sending it to subscribers. This ensures everything looks good and functions correctly.
Design Matters: Ensure your countdown timer enhances your email design. It should be prominent but not distract from your content.
Ready to boost your conversions?
Create a countdown timer in minutes and watch your engagement soar.