Adding a countdown timer in HubSpot
This step-by-step guide will show you how to add a countdown timer, even if you're new to HubSpot or email design.
Step-by-Step Guide to Adding a Countdown Timer
- Open the hotspot email builder and select the email layout you want to add the countdown timer to.
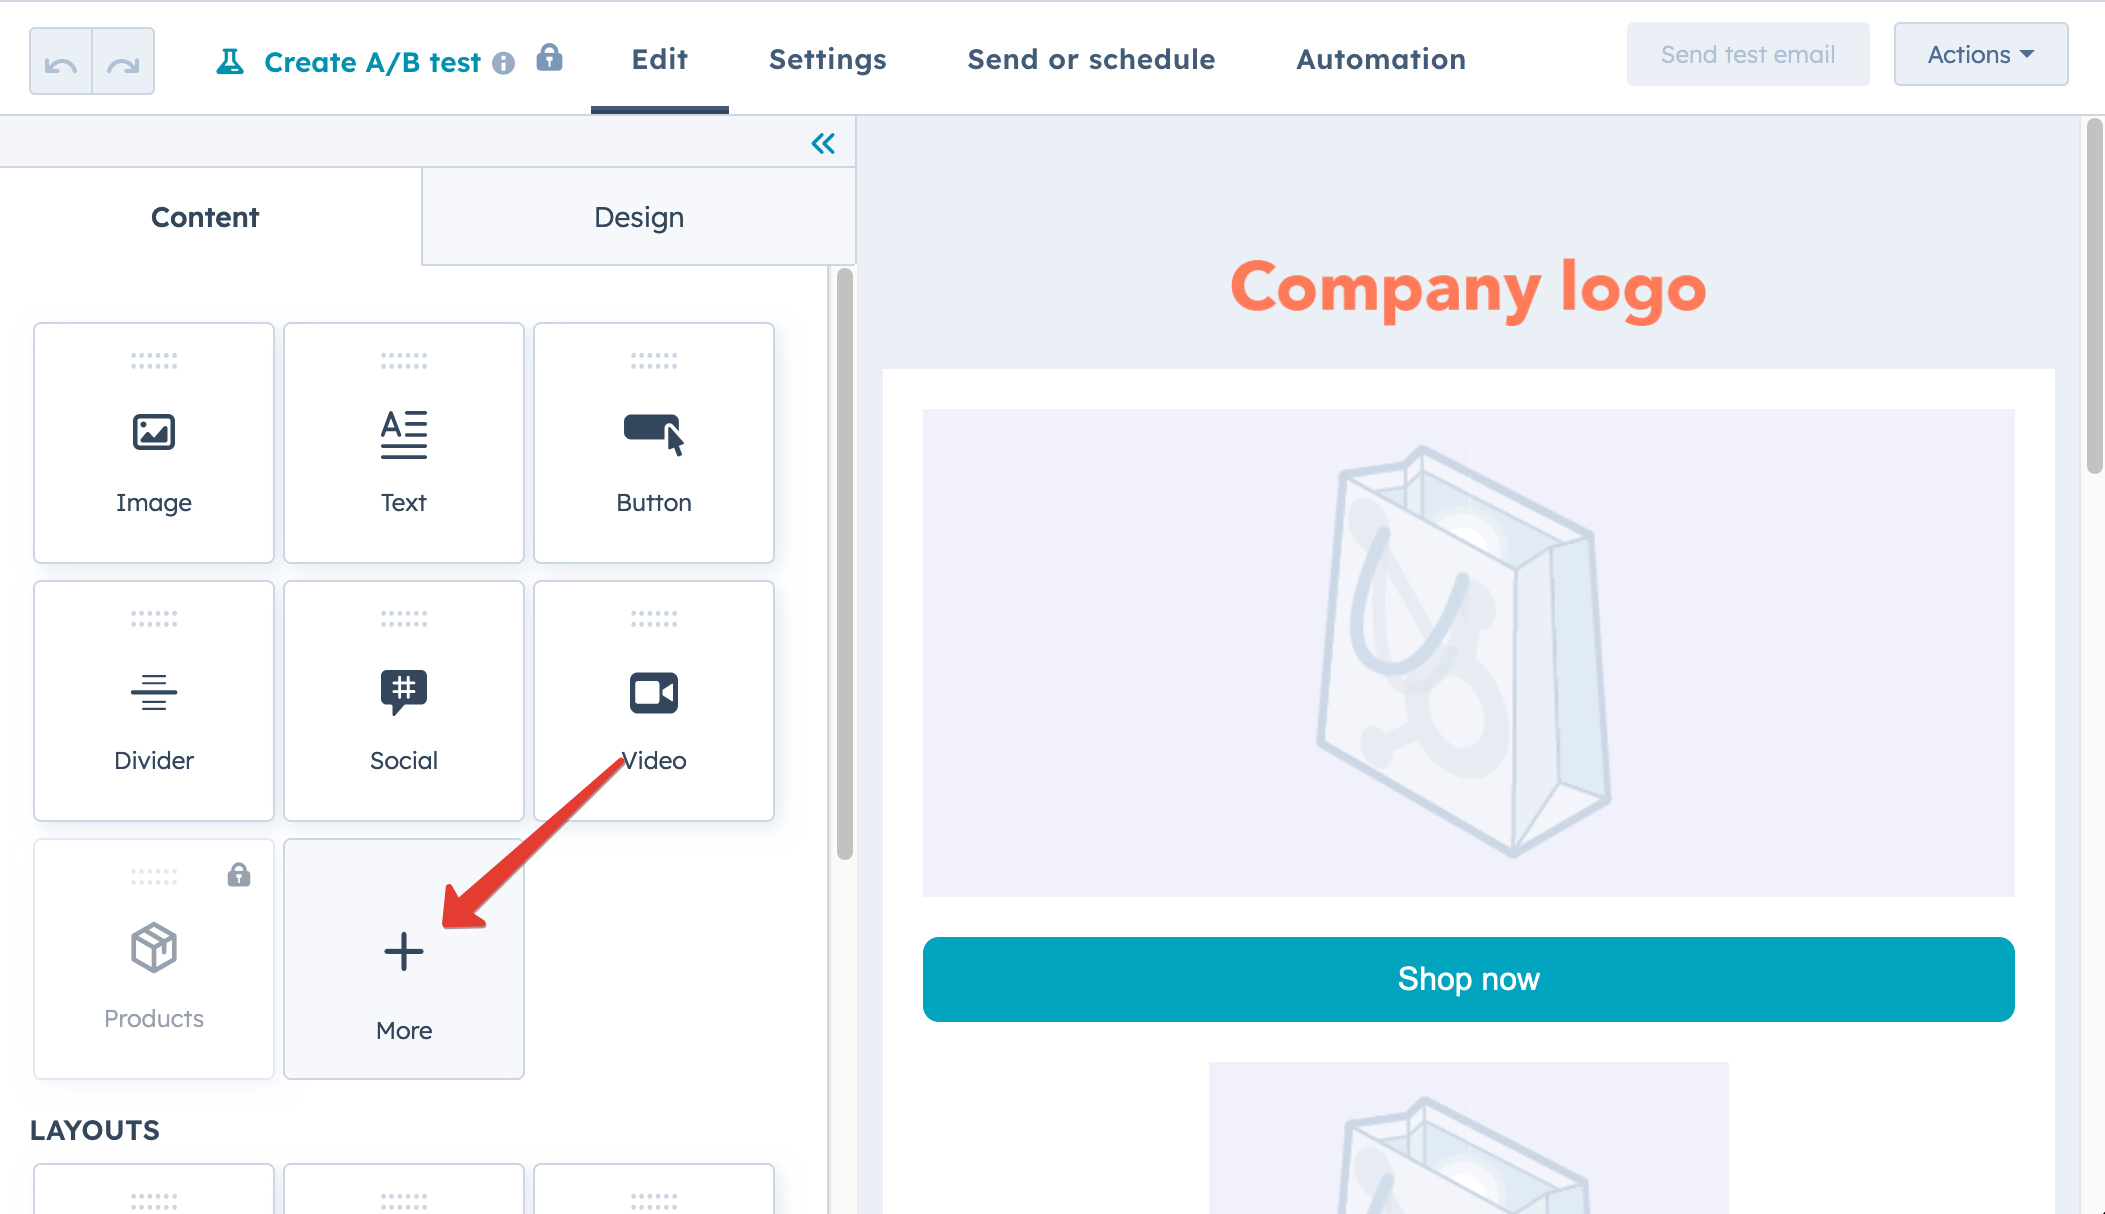
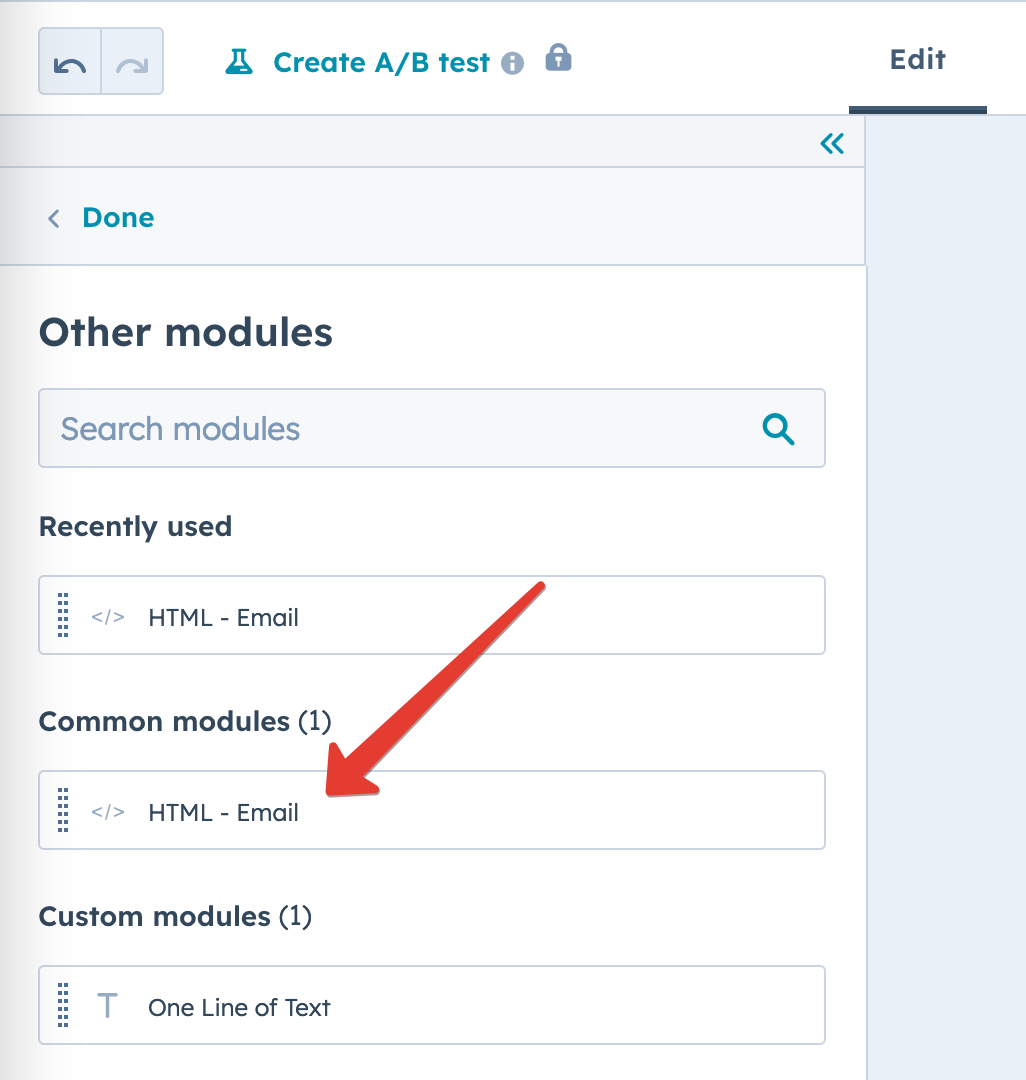
- Look for the 'HTML block' element in the 'More' section of the builder. If you cannot find it, you may need to enable additional elements in the builder settings.
- Drag and drop the HTML block element into the desired location within your email layout.
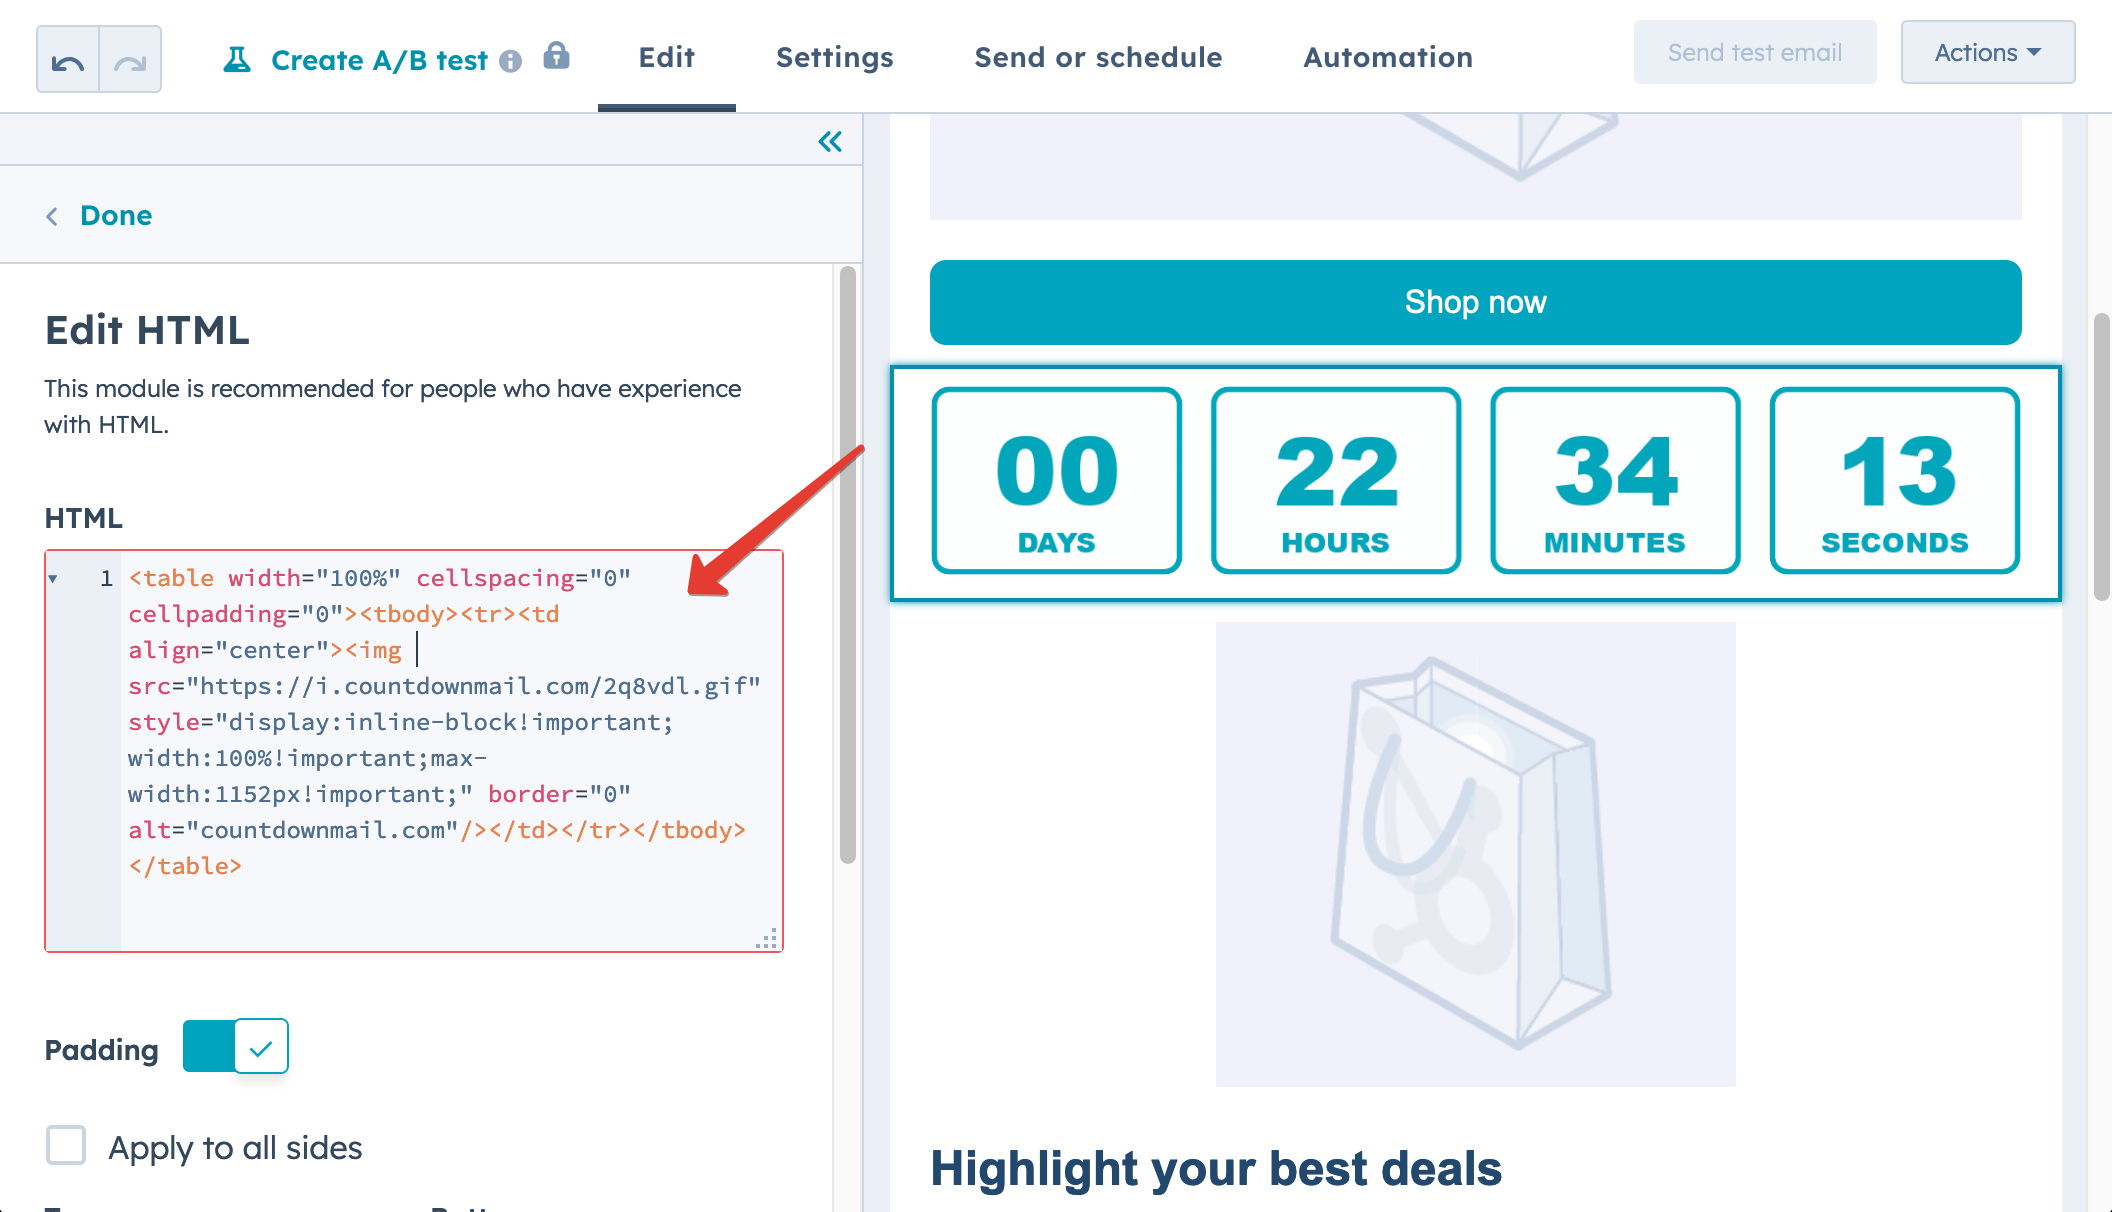
- Once the HTML block is in place, click on it to open the editor window.
- In a new browser tab, visit the CountdownMail website (countdownmail.com) and create a new countdown timer.
- Customize your timer by setting the end date and time, and tweaking options like font style, size, background color, and text color to align with your email's branding.
- Once your timer looks perfect, find the "Embed code" section in CountdownMail and click to copy the HTML code provided.
- Switch back to the HubSpot email builder.
- Paste the copied embed code into the HTML block editor and save your changes.
- Preview and Test Your Email:
- Preview your email in HubSpot to confirm the timer displays correctly.
- Send a test email to yourself and check it on desktop and mobile devices to ensure it works across different email clients.
Conclusion
Adding a countdown timer to your HubSpot emails is a simple yet powerful way to boost engagement and conversions. With the drag-and-drop builder and CountdownMail, you don't need advanced coding skills—just a few clicks and some creativity. Try it out in your next campaign to create urgency and captivate your audience!
Ready to boost your conversions?
Create a countdown timer in minutes and watch your engagement soar.