Adding a countdown timer in Constant Contact
Add a countdown timer using a Drag and Drop Editor
Step 1: Create Your Countdown Timer on CountdownMail
- Visit the CountdownMail website and sign up or log in to your account.
- Click on "Create Timer" to start designing your countdown timer.
- Set the end date and time for your countdown. This is the moment when the timer will reach zero.
- Customize the appearance of your timer to match your email's branding. You can adjust options like font style, size, background color, and text color.
- Once your timer looks perfect, find the "Embed code" section for your timer.
- Locate the URL of the timer image within the embed code. This URL typically starts with https and ends with .gif.
- Copy this image URL to your clipboard.
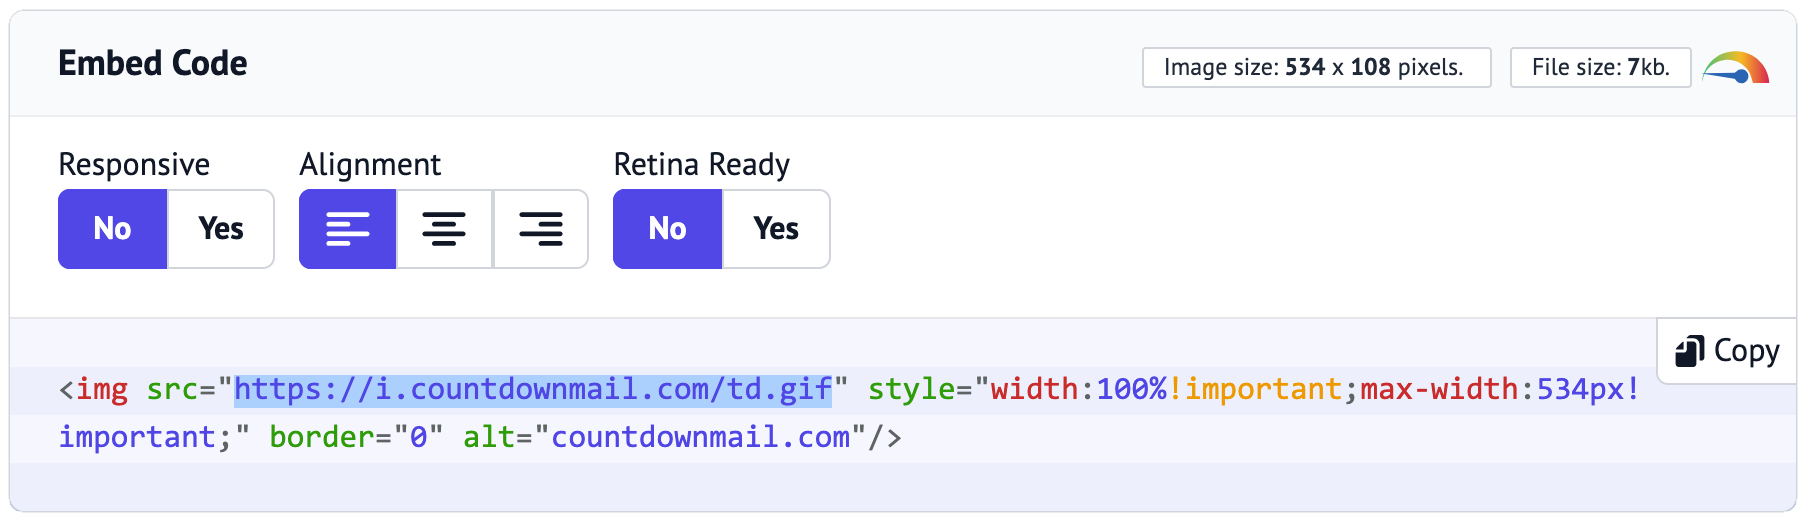 Note:Ensure you copy only the image URL, not the entire embed code, as Gmail will use this URL to insert the image.
Step 2: Adding a countdown timer into the template.
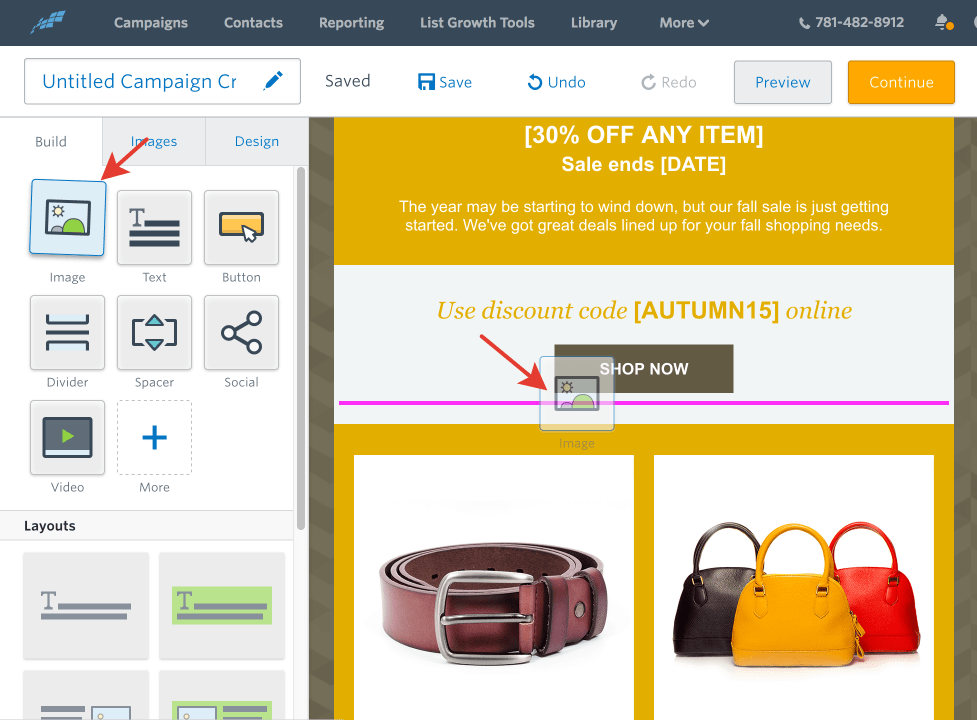
- Choose an image block or add a new image block in your email layout and select the Edit button
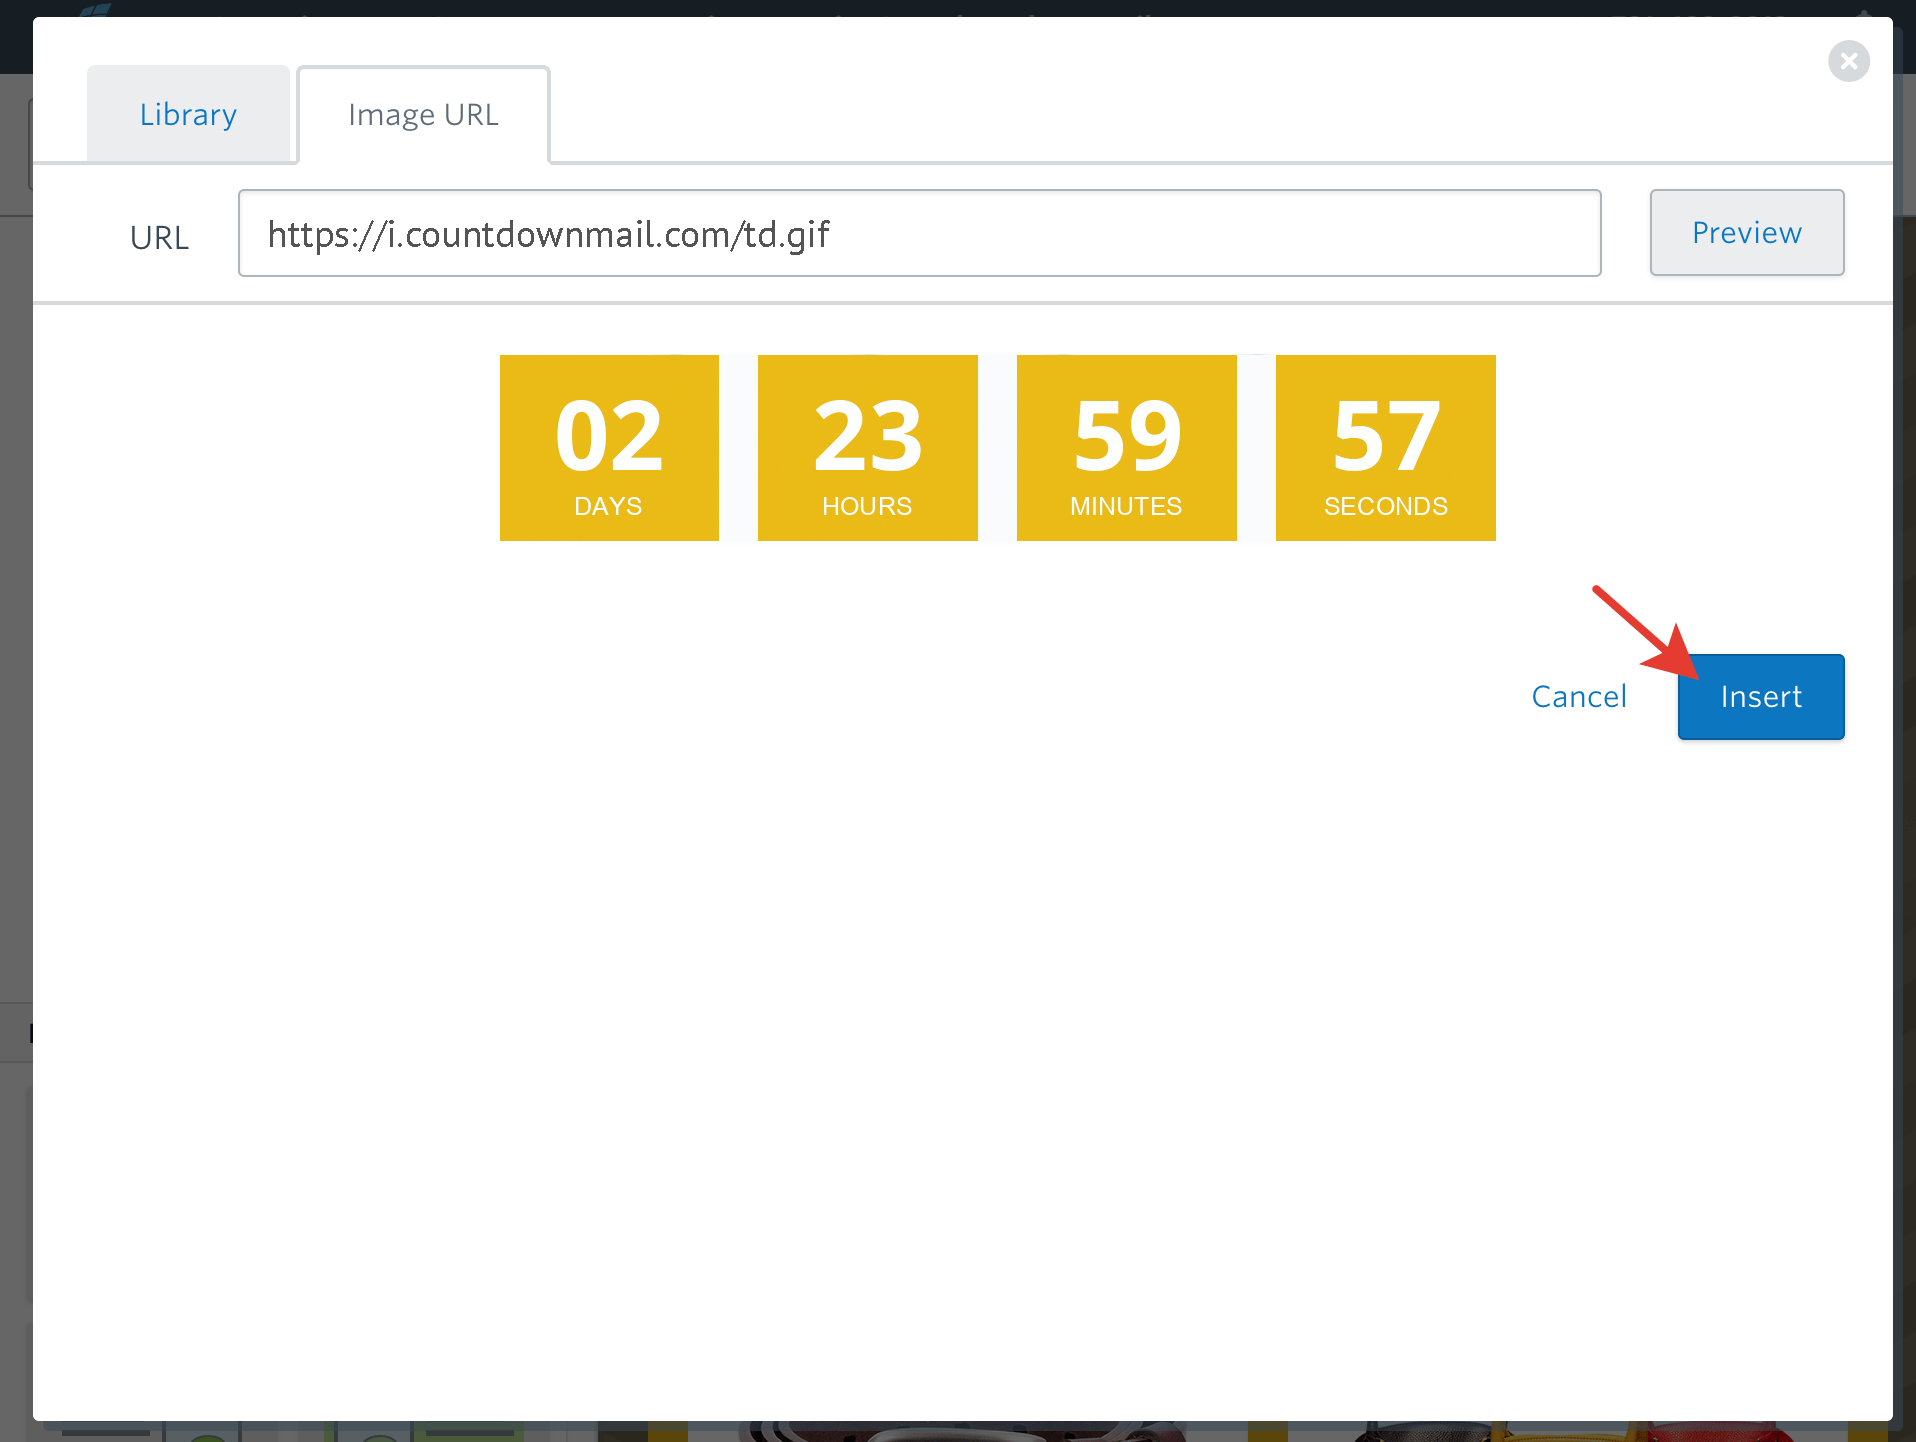
- Then click the Image URL tab to paste in your image URL. Click Preview to edit your image.

Tips for Success
Test Your Email: Always preview and test your email before sending it to subscribers. This ensures everything looks good and functions correctly.
Design Matters: Ensure your countdown timer enhances your email design. It should be prominent but not distract from your content.
Test Your Email: Always preview and test your email before sending it to subscribers. This ensures everything looks good and functions correctly.
Design Matters: Ensure your countdown timer enhances your email design. It should be prominent but not distract from your content.
Ready to boost your conversions?
Create a countdown timer in minutes and watch your engagement soar.